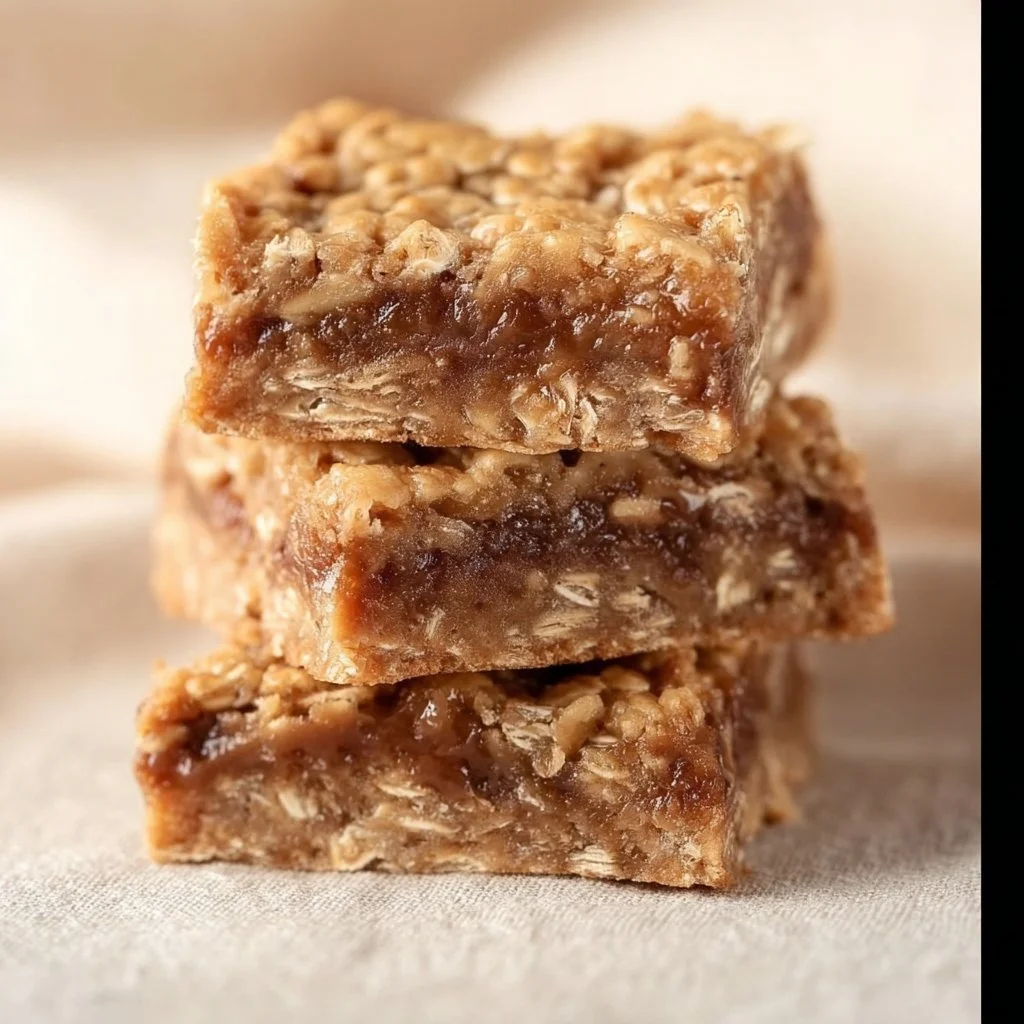
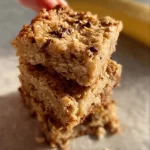
Baked Banana Oatmeal Bars: A Delightful Breakfast Treat
Hey there, food enthusiasts! 🌟 Are you ready to embark on a culinary adventure that can transform your breakfast game? Let me introduce you to a family favorite that’s not only delicious but also super easy to whip up—Baked Banana Oatmeal Bars! Imagine sweet, ripe bananas mingling with hearty oats, all baked to perfection and ready to fuel your day. These bars are not just for breakfast; they make an excellent snack or even a quick dessert. Whether you’re hustling to get the kids out the door or need a healthy pick-me-up during the day, I’ve got you covered.
When I think of these Baked Banana Oatmeal Bars, I’m reminded of Sunday mornings in the kitchen, where laughter and the aroma of sweet treats filled the air. Picture this: the sun streaming through the window, a cozy family gathering around the table, and everyone eagerly waiting for the first bite of something warm and comforting. That’s what cooking is all about—creating memories, sharing love, and digging into something scrumptious together!
As we dive into the nitty-gritty of these amazing bars, I want to emphasize how versatile and forgiving they are. You can swap ingredients based on dietary needs, experiment with mix-ins, or even bake them for a special occasion—seriously, the possibilities are endless! So, let’s get our aprons on, grab our mixing bowls, and make a batch of Baked Banana Oatmeal Bars that will leave your taste buds dancing.
Personal Story
Let me take you back to a lovely Sunday morning a few years ago. I had hosted a brunch for some of my closest friends, and the pressure was on! Trying to come up with something that was not only delicious but also healthy and satisfying seemed like a tall order. I rummaged through my pantry and found a bunch of ripe bananas. Cue the light bulb moment! With a sprinkle of creativity and a dash of nostalgia from my childhood kitchen adventures with my grandma (who always knew how to make the best of what was available), Baked Banana Oatmeal Bars were born.
I never would have guessed that my modest little concoction would become the highlight of the brunch! Everyone was raving about them, and I found myself sharing the recipe like I was passing on family wisdom. That day, between brunch bites and laughter, I realized that food is more than just sustenance; it’s a beautiful way to connect and create lasting memories. Since then, these bars have become a staple in my kitchen. Whether I’m looking for a quick breakfast before a busy day or need to pack a healthy snack for a road trip, these beauties never let me down.
Ingredients
Now, let’s gather our ingredients for these delightful Baked Banana Oatmeal Bars! Here’s what you’ll need:
-
Ripe Bananas (3 medium)
Look for bananas with lots of brown spots for maximum sweetness! Not quite ripe? Pop them in a brown paper bag for a day or so. If you’re out of bananas, you can substitute with unsweetened applesauce—about ½ cup per banana. -
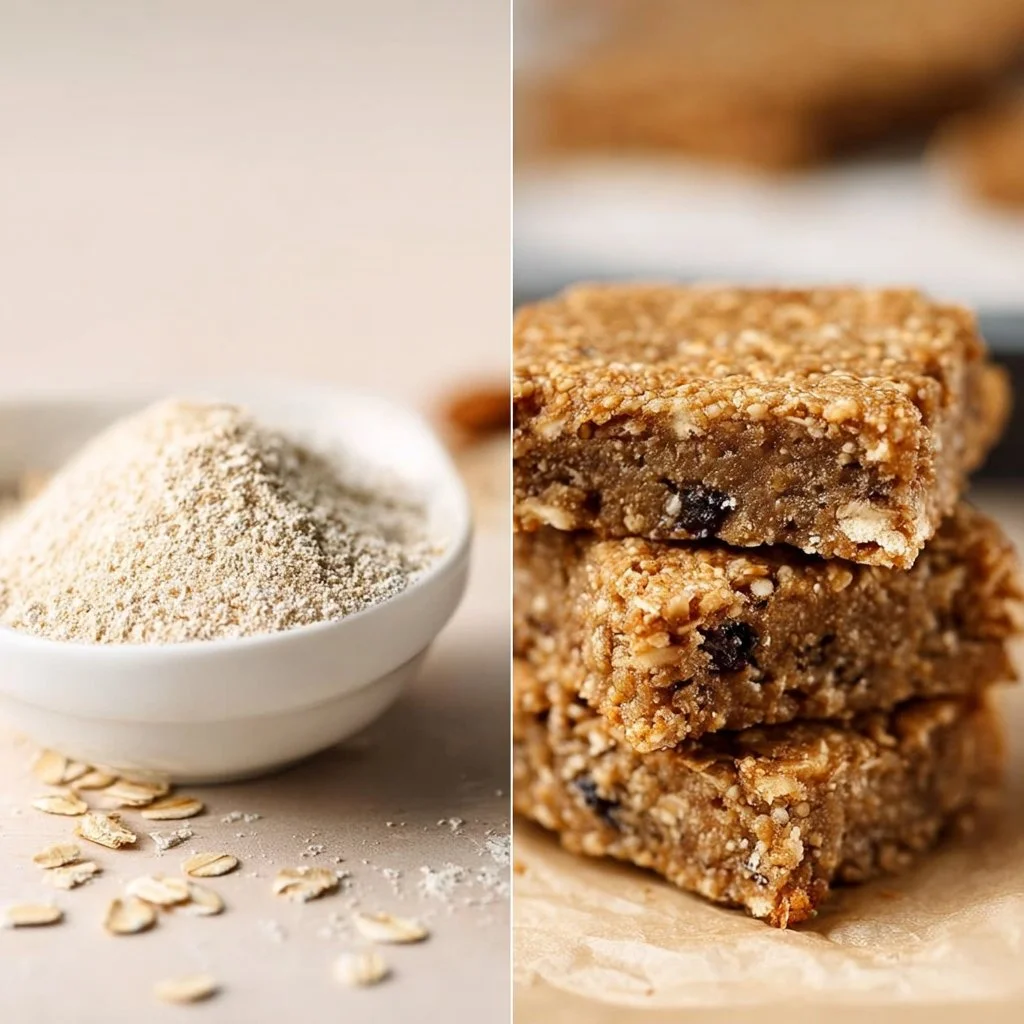
Old-Fashioned Oats (2 cups)
These oats give the bars a chewy texture and provide fantastic fiber! Steel-cut oats can be a bit too tough for this recipe, so stick with the classic rolled oats. Quick oats can also work in a pinch! -
Honey or Maple Syrup (½ cup)
Adds natural sweetness! If you’re looking for a vegan option, use maple syrup; if you want a lower Glycemic Index sweetener, try agave nectar instead. -
Nut Butter (½ cup)
Peanut butter, almond butter, or even sunflower seed butter for nut allergies. This adds creaminess and flavor! Want to switch it up? Try adding a little cocoa powder to chocolate nut butter for a chocolatey twist. -
Milk (1 cup)
Any milk will do! Use almond milk for a dairy-free version, coconut milk for a tropical twist, or regular cow’s milk if that’s your jam. -
Baking Powder (1 teaspoon)
This helps give the bars a fluffy rise. If you’re out, you can use baking soda (just keep the amount the same)! -
Vanilla Extract (1 teaspoon)
A splash of vanilla brings everything together with a wonderful aroma! You can switch it up with almond extract if you want something different. -
Cinnamon (1 teaspoon)
This adds warmth and depth. If you’re feeling adventurous, sprinkle in some nutmeg or pumpkin spice for a seasonal flavor boost. -
Salt (½ teaspoon)
A little salt elevates the sweetness. If you’re watching your sodium intake, feel free to go light on this!
Quick Chef Insight
Baked goods are like a love letter from the kitchen! Feel free to customize these bars with your favorite additions—think chocolate chips, nuts, or dried fruit. Just remember to keep the main ratios balanced while you play around!
Step-by-Step Instructions
Alright, let’s roll up our sleeves and get into the fun part—the cooking! Follow these steps for perfectly baked Banana Oatmeal Bars that you’ll want to make again and again:
Step 1: Preheat Your Oven
Preheat your oven to 350°F (175°C). This ensures that the bars bake evenly throughout. While it heats up, let’s prep the baking dish!
Step 2: Prepare the Baking Dish
Grab an 8×8-inch baking dish (or a 9×13 for thinner bars) and grease it generously with coconut oil or non-stick spray. This prevents our yummy bars from sticking and makes cleanup a breeze!
Step 3: Mash the Bananas
In a large mixing bowl, toss in your ripe bananas and mash them with a fork or potato masher until smooth. Aim for a creamy consistency with just a few lumps—those little bits of banana will add texture and pockets of flavor!
Step 4: Combine Ingredients
Add the honey or maple syrup, nut butter, milk, baking powder, vanilla extract, cinnamon, and salt to the mashed bananas. Stir it all together until it’s well combined. Don’t worry if it looks a bit lumpy; trust me, that’s perfectly okay!
Step 5: Fold in the Oats
Next, gently add the oats to the banana mixture. Use a spatula to fold everything together until the oats are coated in the fruity goodness—this is where the magic happens!
Step 6: Pour and Spread
Pour the mixture into the prepared baking dish and spread it out evenly with your spatula. If you’re feeling extra, sprinkle a few chocolate chips or nuts on top before baking (trust me, those little touches make a big difference!).
Step 7: Bake
Slide the dish into your preheated oven and let those bars bake for about 25-30 minutes. You’ll know they’re done when the edges start to pull away from the dish and the top is a lovely golden-brown.
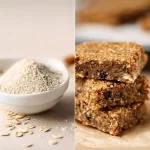
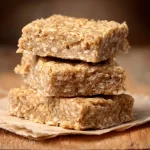
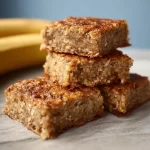
Step 8: Cool and Slice
Once baked, remove the dish from the oven and let it cool for about 10-15 minutes. This is the hardest part, so be strong! Once cool enough to handle, slice into bars and enjoy warm, or let them cool completely for later.
Little Chef Hacks
- Want perfect squares? Use a sharp knife (or even a pizza cutter) for clean cuts!
- Store leftovers in an airtight container for up to a week. Trust me, they won’t last that long!
Serving Suggestions
Now that you have your scrumptious Baked Banana Oatmeal Bars ready, let’s talk about serving! While they’re utterly delicious on their own, you can amp them up beautifully. Here are a few serving ideas:
-
Drizzle with Nut Butter: Warm a bit of peanut butter or almond butter and drizzle it over the top for an extra creaminess. You can also add a sprinkle of chia seeds for some crunch!
-
Yogurt Parfait: Break up the bars into chunks and layer them with Greek yogurt, fresh fruit, and a drizzle of honey for a delightful breakfast parfait that’s Instagram-worthy!
-
Serve with Fresh Fruit: Pair the bars with fresh fruit like sliced strawberries, blueberries, or banana rounds for some bright freshness on your plate.
-
Make Them Dessert: Serve them warm with a scoop of vanilla ice cream on the side for a healthy dessert twist.
-
Pack to Go: These bars make fabulous snacks! Wrap them individually and toss them in your bag for an on-the-go breakfast or snack.
Recipe Variations
Feeling adventurous? Here are a few creative twists you can try with your Baked Banana Oatmeal Bars:
-
Chocolate Chip Delight: Fold in a cup of chocolate chips for a sweet treat that’ll have everyone begging for seconds!
-
Fruit Medley: Mix in a half-cup of your favorite dried fruits like cranberries, apricots, or raisins for bursts of flavor.
-
Nutty Goodness: Add a cup of chopped nuts like walnuts or pecans for a nutritious crunch that complements the softness of the bars.
-
Coconut Bliss: Stir in some shredded coconut to bring a tropical vibe to these bars—you could even toss in some almond extract instead of vanilla for a delightful twist!
-
Savory Spin: For a different flavor profile, consider adding a pinch of sea salt on top before baking, followed by some crumbled feta cheese for a unique savory experience.
Chef’s Notes
As I’ve evolved as a cook, I’ve come to appreciate the simplicity of this recipe. It’s perfect for Thursday mornings when life is chaotic or Sunday brunch when the family is pulling together. I recall one time trying to replicate my childhood memories of a banana bread recipe but ended up with these incredible bars instead. Sometimes the best things in life happen when you least expect them. Also, don’t be afraid to dive into your pantry and get creative—cooking is all about exploration and having fun!
FAQs and Troubleshooting
-
Why aren’t my bars rising?
Ensure that your baking powder isn’t expired, as this can affect the rising process. If they’re still flat, consider adding an extra ½ teaspoon. -
Can I freeze these bars?
Absolutely! Let them cool completely, then wrap them tightly in plastic wrap and store in a freezer-safe bag for up to 3 months. Thaw in the fridge or microwave when you’re ready to enjoy! -
Can I use quick oats instead of old-fashioned oats?
Yes! Quick oats work well, but the texture will be a bit softer. Just keep an eye on the baking time as they may cook a little faster. -
My bars are too crumbly!
If your mix was a little dry, try adding a splash more milk next time! If they crumble, consider adding an extra banana for more moisture.
Nutritional Info
While these bars are delicious, they’re also packed with nutrients! Here’s a general breakdown per bar (based on 12 bars from the entire recipe):
- Calories: Approximately 150
- Protein: 4g
- Fat: 5g
- Carbohydrates: 25g
- Fiber: 3g
- Sugar: 7g
These bars are an excellent source of whole grains and provide a balanced breakfast option. Paired with protein from nut butter or yogurt, they’re a perfect way to start your day!
Final Thoughts
There you have it—my delightful recipe for Baked Banana Oatmeal Bars! I hope that you feel inspired to give this recipe a try in your kitchen. Whether it’s a busy weekday breakfast or a gathering with friends, these bars bring warmth and joy that everyone can appreciate. Remember, cooking is all about exploration, creativity, and sharing love through food!
So go on, roll those sleeves up, and create some delicious memories. Thank you for letting me share this recipe with you, and I can’t wait to hear how yours turn out! Now, grab your ingredients and let’s get baking!🥳
Happy munching! – Emily
PrintBaked Banana Oatmeal Bars
Delightful Baked Banana Oatmeal Bars that are perfect for breakfast or as a healthy snack.
- Prep Time: 15 minutes
- Cook Time: 30 minutes
- Total Time: 45 minutes
- Yield: 12 servings 1x
- Category: Breakfast
- Method: Baking
- Cuisine: American
- Diet: Vegetarian
Ingredients
- 3 medium ripe Bananas
- 2 cups Old-Fashioned Oats
- ½ cup Honey or Maple Syrup
- ½ cup Nut Butter
- 1 cup Milk
- 1 teaspoon Baking Powder
- 1 teaspoon Vanilla Extract
- 1 teaspoon Cinnamon
- ½ teaspoon Salt
Instructions
- Preheat your oven to 350°F (175°C).
- Prepare an 8×8-inch baking dish by greasing it with coconut oil or non-stick spray.
- Mash the ripe bananas in a large mixing bowl until smooth.
- Combine honey or maple syrup, nut butter, milk, baking powder, vanilla extract, cinnamon, and salt with the mashed bananas.
- Fold in the oats until they are coated in the mixture.
- Pour the mixture into the prepared baking dish and spread it evenly.
- Bake for 25-30 minutes until golden brown.
- Cool for 10-15 minutes, slice into bars, and enjoy!
Notes
Feel free to customize with chocolate chips, nuts, or dried fruit. Store leftovers in an airtight container for up to a week.
Nutrition
- Serving Size: 1 bar
- Calories: 150
- Sugar: 7g
- Sodium: 150mg
- Fat: 5g
- Saturated Fat: 1g
- Unsaturated Fat: 4g
- Trans Fat: 0g
- Carbohydrates: 25g
- Fiber: 3g
- Protein: 4g
- Cholesterol: 0mg
Keywords: banana oatmeal bars, healthy breakfast, snack bars, easy recipe, vegetarian dessert