emmawhitaker
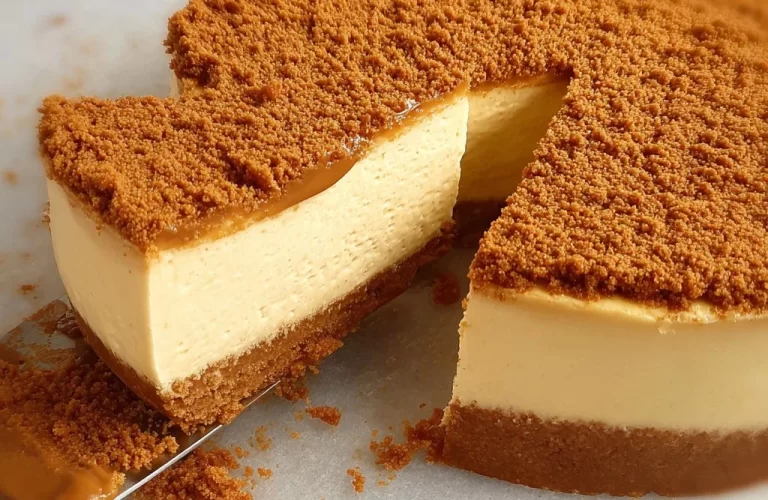
Indulge in a Heavenly Biscoff Cheesecake: An Unforgettable Dessert Experience
Hey there, fellow food lover! 🍰 Are you ready to take your dessert game to soaring heights? Today, I’m beyond excited to share my recipe for a Biscoff Cheesecake that’s not only ridiculously creamy, but also bursting with that warm, spiced flavor we all adore. If cheesecake is your guilty pleasure, this sweet treat is about to become your new obsession.
Imagine sinking your fork into a luscious slice of cheesecake, each bite enveloping your taste buds in a delightful dance of buttery Biscoff goodness. Whether you’re hosting a gathering or simply spoiling yourself after a long week, this cheesecake is sure to earn a special place in your dessert rotation. Trust me, the process is as enjoyable as the end result: a fabulous dessert that makes everyone’s eyes spark with joy!
Now, before we dive into the recipe, can you picture those cozy evenings spent tucked away with friends and family, the warm aroma of something delicious lingering in the air? That’s the kind of magic I want to share with you today! So, grab your apron, and let’s whip up something truly sensational that will have everyone begging for seconds—because who can resist that?
Personal Story
I have a delightful memory associated with Biscoff cookies that still warms my heart! It all started during my college years when my best friend and I would treat ourselves to study breaks at a charming little café downtown. We’d sip on our favorite lattes and nibble on Biscoff cookies, together with a few giggles and endless dreams about our future.
One cozy afternoon, we decided we’d try our hand at creating a Biscoff-inspired dessert at home. Armed with a beat-up cookbook, some enthusiasm, and a dash of online inspiration, we dove into a messy marathon of sweet creations. A mix of flour dust, laughter, and a generous sprinkle of Biscoff crumbs turned our kitchen into a dreamland of cheers and triumphant shouts. Our first cheesecake attempt? Let’s just say it was, uh, memorable (not all successful, of course!). Fast forward to today, and I still get giddy thinking about that carefree experimentation, which has inspired my Biscoff Cheesecake recipe. So let’s get cooking and recreate some of that joyful spirit!
Ingredients
Here’s what you’ll need to bring this delicious Biscoff Cheesecake to life:
-
Biscoff Cookies (2 cups crushed): The star of the show! Their buttery, spiced flavor creates a fabulous crust and creamy filling. If you can’t find Biscoff cookies, you can substitute with ginger snaps or speculoos cookies for a similar zing.
-
Unsalted Butter (½ cup, melted): This helps bind the crushed cookies together and adds richness. For a dairy-free version, you can use coconut oil.
-
Cream Cheese (24 oz): Use full-fat cream cheese for the creamiest texture. If you want a lighter option, consider low-fat cream cheese, but it may not be as rich.
-
Granulated Sugar (¾ cup): Sweetness is key! For a refined sugar swap, try coconut sugar or maple syrup—just adjust to taste.
-
Sour Cream (1 cup): This adds a delightful tang and creaminess. If you prefer, Greek yogurt is a great alternative.
-
Vanilla Extract (1 tsp): A dash of vanilla brings everything together beautifully. Go for pure vanilla extract for the best flavor!
-
Eggs (3 large, at room temperature): Eggs help set the cheesecake. For a vegan alternative, you can use flax eggs (1 tablespoon of ground flaxseed mixed with 2.5 tablespoons of water per egg); just note the texture might differ a bit.
-
Biscoff Spread (½ cup): The icing on the cake, literally! This creamy spread adds even more flavor. You can swap this for peanut butter or Nutella for a twist, but it’ll change the flavor profile.
-
Whipped Cream (optional, for topping): For that delightful finishing touch. Use store-bought or homemade. You can go dairy-free by using coconut cream!
Step-by-Step Instructions
Step 1: Preheat Your Oven
Let’s set the stage! Preheat your oven to 325°F (160°C) to create the perfect environment for your cheesecake. It’s crucial for even baking and avoiding cracks—no one likes a cracked cheesecake!
Step 2: Make the Crust
In a mixing bowl, combine the crushed Biscoff cookies and melted butter until well combined. It should resemble wet sand. Press this mixture firmly into the bottom of a springform pan to create a solid base. Pro tip: Use the bottom of a measuring cup to press it down evenly. This step is vital; a sturdy crust adds wonderful texture!
Step 3: Prepare the Cheesecake Mixture
In a large mixing bowl, beat the cream cheese until smooth and creamy. Add in the sugar, and mix well. Next, incorporate the sour cream and vanilla extract—don’t rush this step; scraping down the sides of the bowl is key to a smooth filling.
Step 4: Add the Eggs
Now, one at a time, add the eggs, mixing gently after each addition. Make sure not to overmix at this stage! A little air is good; too much can lead to cracks during baking.
Step 5: Incorporate Biscoff Spread
Once the eggs are fully incorporated, gently fold in the Biscoff spread. The mixture should be smooth and velvety—just looking at it is enough to make you swoon!
Step 6: Pour and Bake
Pour the cheesecake mixture over your prepared crust and smooth the top. Here’s a quick chef hack: to minimize cracks, place a baking dish filled with water on the oven rack beneath your cheesecake to create steaming conditions. Bake for 50-60 minutes until the edges are set but the center is still slightly jiggly (it will firm up as it cools).
Step 7: Cool and Chill
Once baked, let the cheesecake cool in the oven with the door ajar for about an hour. This gradual cooling helps prevent cracks. After cooling, cover it and chill in the fridge for at least 4 hours (or overnight for the best results). I know, the waiting is the hardest part, but trust me, it will be worth it!
Step 8: Serve and Enjoy!
When you’re ready to serve, release the cheesecake from the springform pan. Slice it up, and if you want to elevate the experience, drizzle some extra Biscoff spread on top and add a dollop of whipped cream. Instant showstopper!
Serving Suggestions
Presentation adds an additional layer of delight to this Biscoff Cheesecake! Consider these serving ideas:
-
Elegant Slices: Plate each slice with a drizzle of melted Biscoff spread and sprinkle crushed cookies on top for extra flair.
-
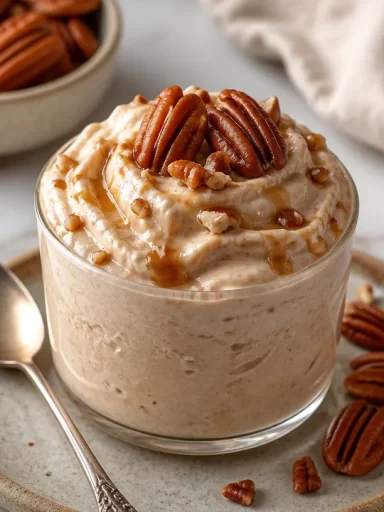
Individual Portions: Use small jars or mini dessert cups to create individual servings. This way, everyone gets their cheesecake, and it’s perfect for gatherings!
-
Seasonal Touches: Add seasonal fruits like sliced strawberries, or a sprinkle of cinnamon for a warm, festive flair.
Recipe Variations
Now let’s have some fun with variations! Here are a few creative twists you can try:
-
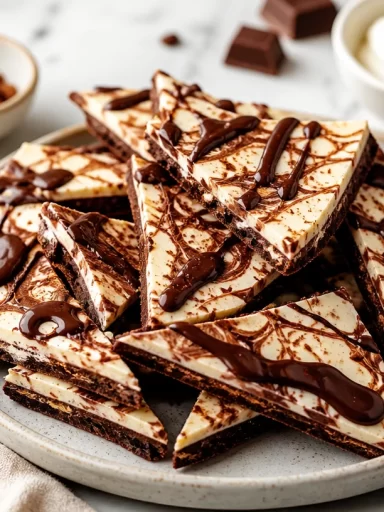
Chocolate Lover’s Delight: Swirl in some melted dark chocolate to the filling for an indulgent chocolate Biscoff cheesecake.
-
Peanut Butter Twist: Swap out half the Biscoff spread for creamy peanut butter. It’s like the best of both worlds!
-
Pumpkin Spice Biscoff Cheesecake: Add 1 cup of pumpkin puree and a teaspoon of pumpkin spice to the filling for a seasonal treat.
-
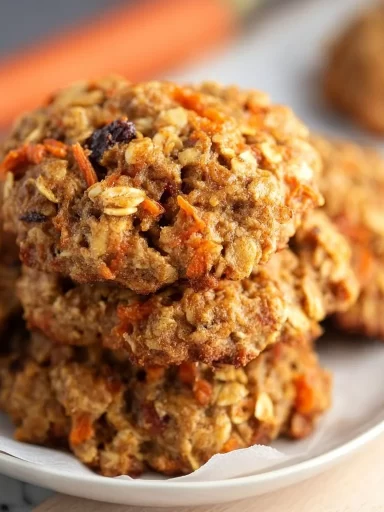
Nutty Crunch: Fold in some chopped nuts such as pecans or almonds into the crust for an added crunch.
-
Berry Bliss: Top with fresh berries before serving for a refreshing pop of color and flavor.
Chef’s Notes
This Biscoff Cheesecake has been a labor of love, evolving over the years into something truly special. I’ll never forget that first attempt with my college friend—it may not have been perfect, but it ignited a passion for creating desserts at home. I always say that the journey is just as important as the destination, and the memories made while cooking are the sweetest treats of all. As you create this cheesecake, don’t be afraid to make it your own; every little tweak is what makes your cooking adventures uniquely YOU.
FAQs and Troubleshooting
1. Why did my cheesecake crack?
Cracks can happen for several reasons: baking at too high of a temperature, overmixing your filling, or cooling it too quickly. Keeping the oven at a steady temperature and allowing it to cool slowly in the oven helps keep those cracks at bay.
2. How do I know when the cheesecake is done?
The edges should be set while the center is still slightly jiggly. It will firm up as it cools, so don’t wait for it to be completely firm in the oven!
3. Can I freeze my cheesecake?
Absolutely! Make sure to wrap it tightly in plastic wrap and foil before freezing. Thaw it in the refrigerator overnight before serving.
4. My cheesecake seems too soft. What can I do?
If the cheesecake doesn’t set properly, it may not have been baked long enough or cooled correctly. To fix a soft cheesecake, you can simply pop it back in the oven for a little while longer. Cover it loosely with foil to prevent over-browning.
Nutritional Info
While indulging in this creamy Biscoff Cheesecake, you might wonder about the nutritional facts. A slice contains approximately:
- Calories: 350
- Total Fat: 25g
- Saturated Fat: 15g
- Cholesterol: 90mg
- Sodium: 200mg
- Total Carbohydrates: 28g
- Dietary Fiber: 1g
- Sugars: 18g
- Protein: 5g
Please adjust portion sizes according to your needs and remember, it’s all about balance!
Final Thoughts
And there you have it! Your very own Biscoff Cheesecake, crafted with love and a sprinkle of nostalgia. Cooking should always feel joyful, a cozy experience that brings friends and family together. I hope you enjoy making this recipe as much as I enjoy sharing it with you!
So, the next time you’re in search of a dessert that will impress, comfort, and downright delight, reach for this Biscoff Cheesecake. The only thing better than making it is sharing it—don’t forget to send photos to your foodie friends and, of course, keep me in the loop about your adventures in the kitchen.
Until next time, happy baking, and let’s keep chasing those flavors together. Love and happy eating from my kitchen to yours! 🧡
PrintBiscoff Cheesecake
Indulge in a creamy Biscoff Cheesecake bursting with warm, spiced flavors. This unforgettable dessert is a perfect treat for any occasion.
- Prep Time: 15 minutes
- Cook Time: 60 minutes
- Total Time: 75 minutes
- Yield: 8 servings 1x
- Category: Dessert
- Method: Baking
- Cuisine: American
- Diet: Vegetarian
Ingredients
- 2 cups crushed Biscoff cookies
- ½ cup unsalted butter, melted
- 24 oz cream cheese
- ¾ cup granulated sugar
- 1 cup sour cream
- 1 tsp vanilla extract
- 3 large eggs, at room temperature
- ½ cup Biscoff spread
- Whipped cream (optional, for topping)
Instructions
- Preheat your oven to 325°F (160°C).
- Combine crushed Biscoff cookies and melted butter until well combined. Press into a springform pan.
- Beat the cream cheese until smooth and creamy, then add sugar, sour cream, and vanilla extract.
- Add the eggs one at a time, mixing gently after each addition.
- Fold in the Biscoff spread until smooth.
- Pour the mixture over the crust and smooth the top. Bake for 50-60 minutes.
- Cool the cheesecake in the oven with the door ajar for about an hour, then chill in the fridge for at least 4 hours.
- Serve with extra Biscoff spread and whipped cream if desired.
Notes
For variations, consider adding chocolate, peanut butter, pumpkin spice, nuts, or fresh berries.
Nutrition
- Serving Size: 1 slice
- Calories: 350
- Sugar: 18g
- Sodium: 200mg
- Fat: 25g
- Saturated Fat: 15g
- Unsaturated Fat: 6g
- Trans Fat: 0g
- Carbohydrates: 28g
- Fiber: 1g
- Protein: 5g
- Cholesterol: 90mg
Keywords: cheesecake, Biscoff, dessert, creamy, sweet